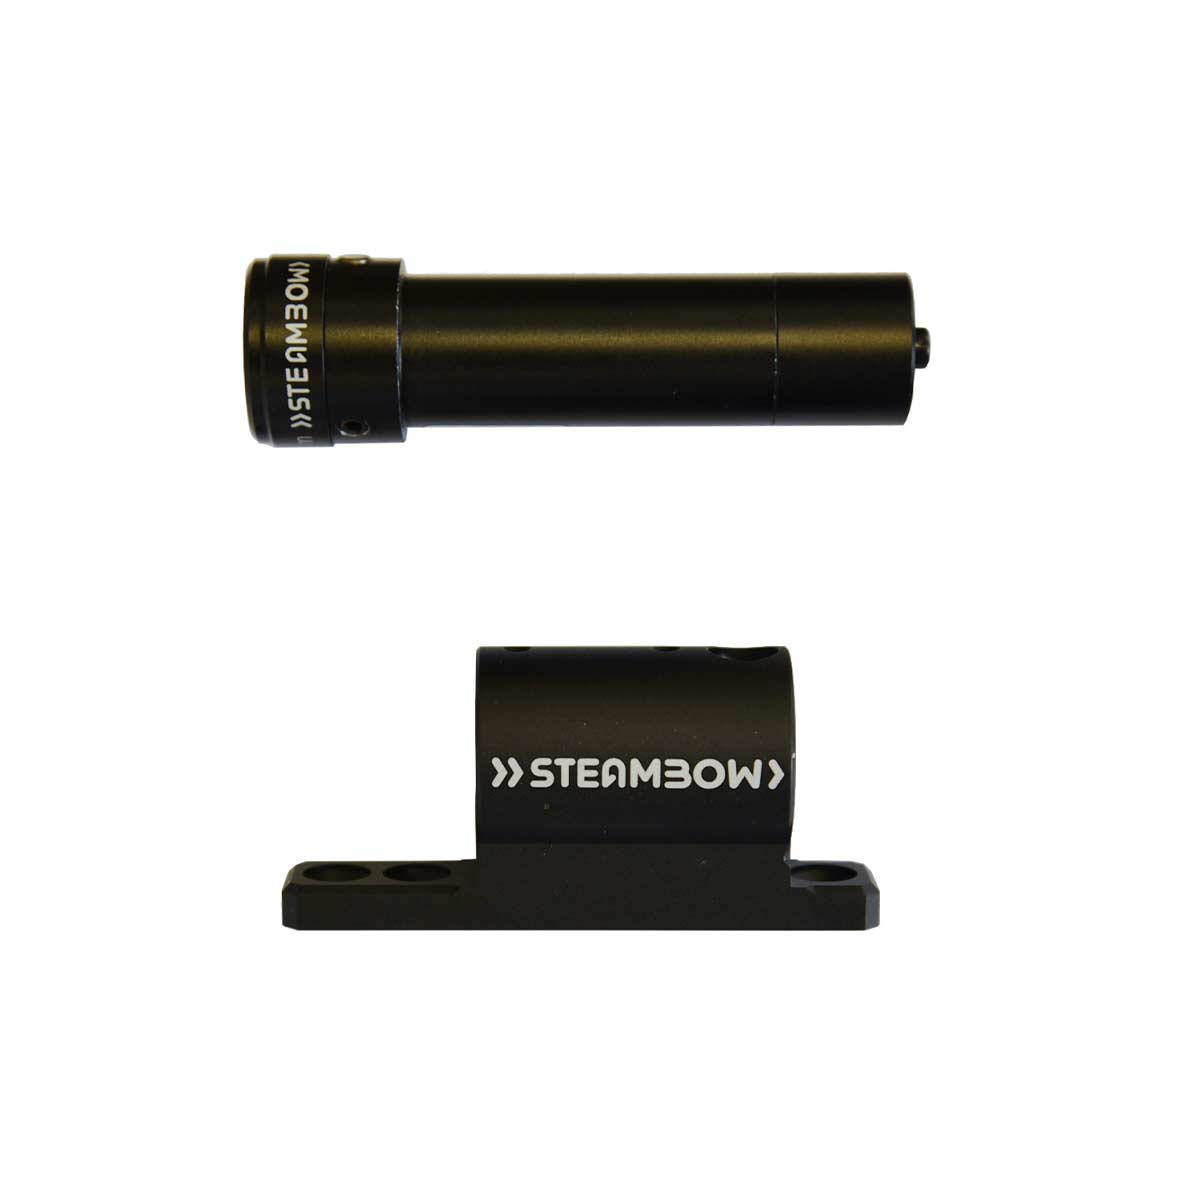
Lasers: they are cool and a great aiming option, but before going into all that, let’s cover some common sense basics: before even thinking about buying, make sure you can. Some countries and states have pretty tight rules about owning a laser, particularly one designed for bows and/or crossbows.
With that said, these lasers are not universally compatible with other mounting systems, meaning they cannot be readily used for other shooting sports or with goods from other manufacturers.
Beyond that, there is the safety aspect. Never point a laser at a person, animal, or vehicle. They can dazzle, and they can cause permanent damage to vision, so just be smart. If they are fitted to your Steambow product, the only thing they should ever illuminate is your target.
Also, as discussed in our blog about shooting indoors here, be careful of using a laser if animals might be attracted to it, such as cats or dogs. They could actively move into the path of your arrow while trying to reach the fascinating dot of the laser.
Now that’s all out in the open, let’s talk about the two lasers that Steambow sells.
The red laser
The red laser is compact and designed to fit in the accessory recess in the magazine of the AR-6 Stinger II Tactical or Compact.
The nice thing about it is it’s always there. Once fitted and zeroed for your preferred shooting distance (see our videos about how to do that here and here), you just need to switch it on, and away you go.
Apart from it being small, light, and tucked away, what else do I need to consider? Namely, the color: red is best for low-light conditions and is far less visible (or may even not be visible at all) outdoors during the day, depending on the light conditions. But indoors, it’s another story. The red dot will show up beautifully on your target, and if you are at roughly the distance of your zero, you can be confident your arrow will go where the red point is showing, whether you hold it to your shoulder or shoot from the hip. Perfect for adding your repeating crossbow to you effective self-defense mechanisms.
The green laser
Next comes the green laser, which is mounted using one of Steambow’s two universal brackets. The first version is designed to mount on the side of the Tactical’s or Compact’s magazine. You can see how to do that here. The other version is designed for the FENRIS and lines up with existing screw holes, making mounting it foolproof.
Whichever product you’re using it on, the green laser is held in the bracket with grub screws. When you’ve done that, you can set the zero according to your needs, as shown here.
The green laser is very powerful and is even visible in sunlight: you can even see it on grass. Being mounted to the side you have to remember that, unlike the red laser that is in the vertical plane of the arrow, the green laser is off to one side by about 2 cm. You need to factor that in when shooting.
If you set your green laser to exactly show the point of impact at 10 meters, then if you are closer or further away, the dot will either be to the right or left of your point of impact. This is because the beam is pointing across the horizontal axis of the crossbow at a slight angle since it is to the side of the arrow and not above it.
You could adjust the green laser to point parallel to the arrow’s path, but then you will always need to remember that your arrow will hit on a vertical line about 2 cm to the side of where your dot is. It may sound complicated, but soon becomes second nature.
Other points to consider
Since lasers can show you exactly where your arrow will hit at one specific distance, if you are closer or further than that distance, you will need to learn hold-over and hold-under. This is where you aim over or under the desired point of impact to compensate for the arched trajectory of the arrow. Learning this requires practice until you develop a feel of where you should hold the laser to hit your target, as well as developing a good sense of distance.
Lasers can also be a good learning tool. In a recent blog about trigger technique, you may have read about flinching and how it damages your accuracy. To avoid flinching, you must first realize it is happening, and watching the laser point on your target as you release the shot is one way of finding out.
If just before shooting you can see the laser point jerk one way or the other, you’re flinching and you’ll need to practice a more relaxed and controlled trigger squeeze. Use these methods to hone your shooting whether for recreation or as protective measures for personal safety.
So there are the basics of our lasers. If you know you are allowed to buy one where you live and fancy having a go, just visit our shop to choose the one that’s best for you.


