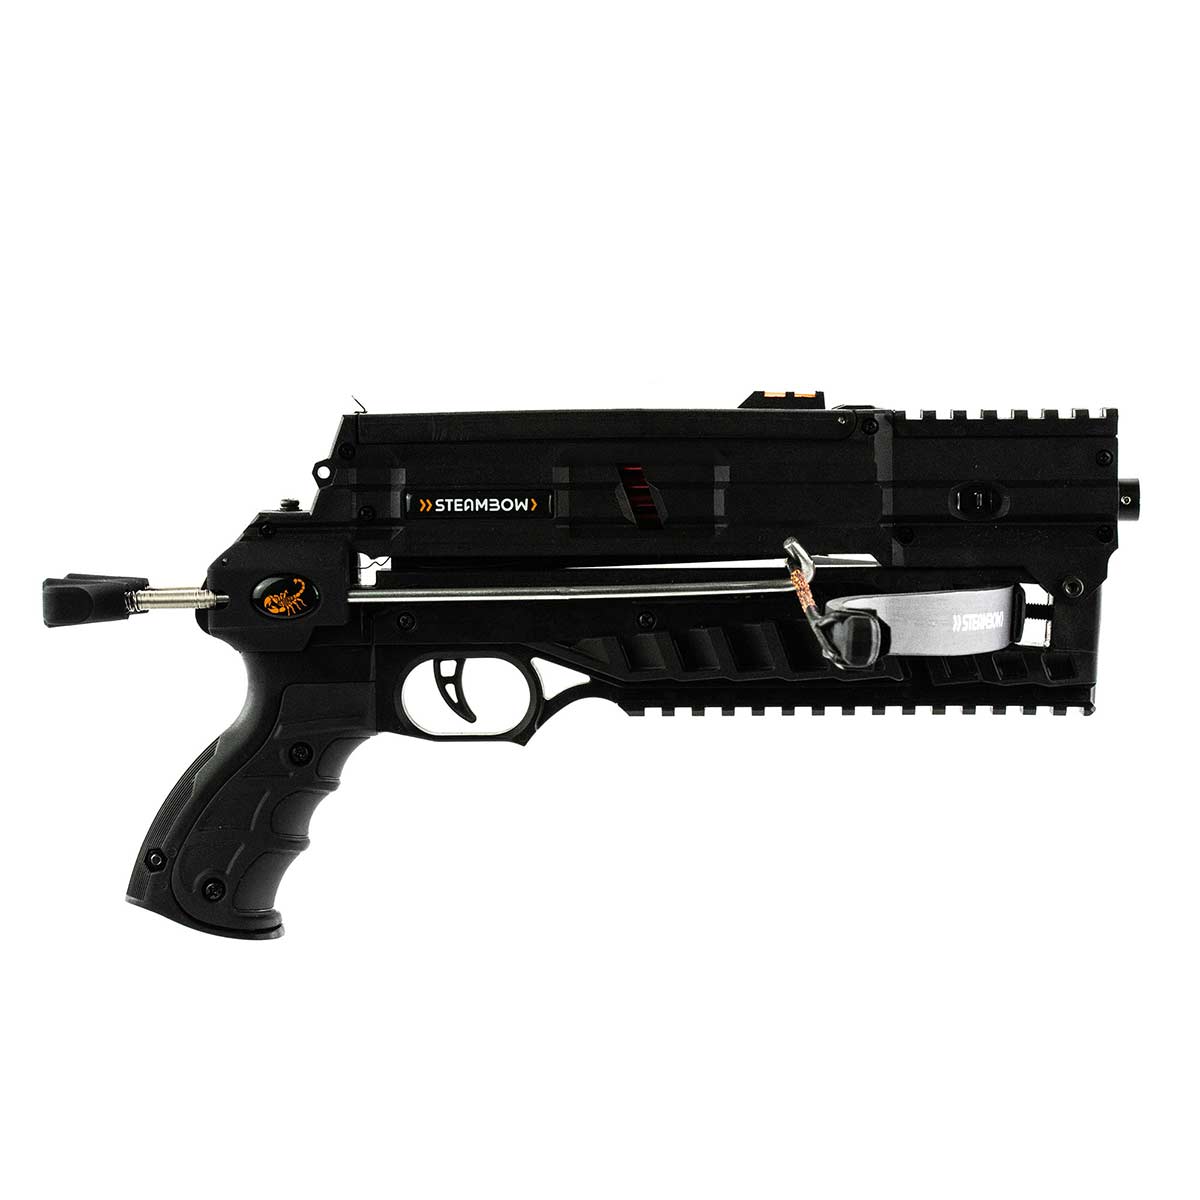
This blog looks at the considerations and expectations you should have if all you shoot with are the “iron sights” that are the standard aiming method on any out-of-the-box AR-6 Stinger II.
Some basic principles
Let’s first start off by setting a couple of standards so that we’re all on the same page. First of all, what are accuracy and precision?
Strictly put, accuracy in shooting means hitting your intended spot whereas precision means repeatedly hitting very close to the same spot on the target, forming a small grouping. So you could have precise shooting where all the shots hit close together but they were not where you were aiming because your aiming device is not set up correctly. With that said, let’s just call it all accuracy for the sake of argument since we are talking about hitting where you are aiming, repeatedly and consistently. And to do that you need both accuray and precision.
In benchrest rifle shooting competitions, accuracy would be getting your five bullet holes to touch on your paper target, some 600 meters away. In hunting, accuracy would be striking the game animal in the vital organs every time with the first shot. That area depends on the size of the game animal, and is around the size of an tangerine on a field hare and something like a cantaloupe on a whitetail deer.
So accuracy could mean hitting an area the size of a coin at 600 meters or hitting something the size of a cantaloupe at 100 meters. I think you can see where this is going: it all depends on what shooting you are doing.
Proven technology
The next thing to describe is how iron sights work. They typically require lining up four separate points in a line: your eye, the rear sight (at the back of the magazine and closest to the eye), the front sight (furthest from the eye), and the target.
The front and rear sights are fixed in relation to one another. They are at two fixed locations on the same object: your Stinger II repeating crossbow. So the only way to get them to cross and join that line between your eye and the target is to manipulate the entire crossbow.
There are two further considerations that we need to be able to understand the ease of using iron sights with each of the 3 AR-6 Stinger II configurations. The first is the more rigidly you can hold your crossbow, the easier it is to keep the sights on that line between the eye and target. The second is that the longer the distance between the front and rear sight (the sight radius), all things being equal, the more accurate the platform will be.
Out-of-the-box aiming
Let’s look at what that means for the various Stinger II models. First the Survival, since it has its own iron-sight set-up. Its iron sights have a somewhat shorter sight radius than the Tactical and Compact. So in principle, you could say that it will be less accurate, right?
Well, no. Remember that phrase above: all things being equal? This is relevant here. The short sight radius might put the Survival at a minor disadvantage for aiming. But it gains an advantage by the fact it is single-shot, meaning fewer variables from one shot to the next: no arrows sitting above the one you plan to shoot, and a lower sight line that allows you to obtain a better cheek weld on the buttstock. Plus, the iron sights on the Survival can be adjusted for elevation and windage to account for your draw weight, arrows, and how you hold the crossbow
Add to that the fact that both the Survival and Tactical have their crossbow cocker buttstock, meaning both have accuracy potential close enough to mean it’s the operator that will make the difference. If you want your Survival to win the accuracy game: it’s easy. Just go to the Steambow shop, buy a Steambow’s crossbow scope, and read this blog about sighting in a scope. The Compact, on the other hand, lacks a buttstock making the same accuracy harder to achieve despite sharing the Tactical’s sight radius. Here, how steady you can hold your sights depends on your grip and stance, without relying on the additional contact point at the shoulder. But, as always, it’s a compromise. What you lose in aiming stability, you gain in agility and maneuverability.
How to use them
The first thing to remember about shooting with iron sights is that you cannot focus your eye on three things at once. It’s either going to be the target, the front sight, or the rear sight. And shooting doctrine states the front sight is the point to focus on. Yes, your target and rear sight will appear slightly blurry, but you will see whether your sights are aligned correctly with the target without problems. Focus your eye on the rear sight or the target, and it will be harder to see if your sights and target are all lined up properly.
So: arrange your target, your front sight, and your rear sight so they all sit in your line of sight. Make sure it is the front sight that is in focus, and then squeeze off your shot when you are ready and when it is safe to do so.
The downsides of iron sights
Although a skilled marksman can hit a target out to several hundred meters with iron sights, give that same marksman the same rifle but with a high-power scope fitted, and the spread of those hits on the target will shrink. In other words, iron sights are unlikely to be as precise as aided aiming in the same situation.
So what are the pros of iron sights?
They are easy to use. Getting everything lined up (acquiring your target) is generally fast. The key to this is practice and developing a feel for how to get your cheek on the buttstock consistently and as fast as possible so that your eye is already in line with the two sights, leaving only the target to be brought into the equation. The other advantage is that they are reliable: always there and always functional. No batteries to run dry, no glass to scratch or crack, no lenses to fog up in high humidity or when the temperature changes quickly. Last but not least, they are cost-effective. Fitting any other aiming device to a Stinger II would immediately increase the cost by double-figure percentages.
In a nutshell
A final thought is to remember what a Stinger II is for. It is designed to shoot at relatively close distances, making the need for a scope or other aiming devices a question of preference, not necessity. Those who can legally hunt with a crossbow may wish to give themselves an added advantage of mounting a scope to their Survival fitted with the 150 lbs HUNTING limbs , but even without, they could achieve hunting accuracy by using the iron sights and being realistic about their chosen hunting distance and game animal.
So there you have it: iron sights are extremely dependable, cost-effective, and can be used to great effect if employed properly. So if you can’t decide if you should get the red dot sight, the green laser, or the red, just remember you have an excellent option already in place, until you decide what to mount instead.
Did you miss the first part? You can find it here: Crossbow Academy Pt 1: Crossbow parts and what they are for


