
Any projectile weapon will have a “zero.” Depending on the weapon, that may be adjustable. But what is a “zero,” and how do you adjust it with Steambow products?
What is your zero?
Your weapon’s “zero” is where your point of aim and your projectile’s point of impact coincide perfectly. You aim at something and shoot, and you hit it.
However, there are variables that will affect where your zero is, and the two big ones are trajectory and distance. Newton’s First Law states that “An object at rest remains at rest, or if in motion, remains in motion at a constant velocity unless acted on by a net external force.”
For an arrow in flight, those external forces are the drag of the air and the pull of gravity. The first will slow the arrow over time while the latter will pull it to earth from the moment it leaves the rail of your AR-6 Stinger II.
On the other hand, your line of sight is a straight line as far as you can see.
If you aim your crossbow at the exact same spot on a target and shoot it at greater and greater distances, the arrow will hit lower and lower on the target relative to where you were aiming.
Your crossbow’s zero will be where that straight line of sight crosses with the arc of your arrow’s trajectory. And because of that trajectory, that point moves in the vertical plane. That point will not be the same. Rather it depends on from how far away you measure it.
Setting your zero
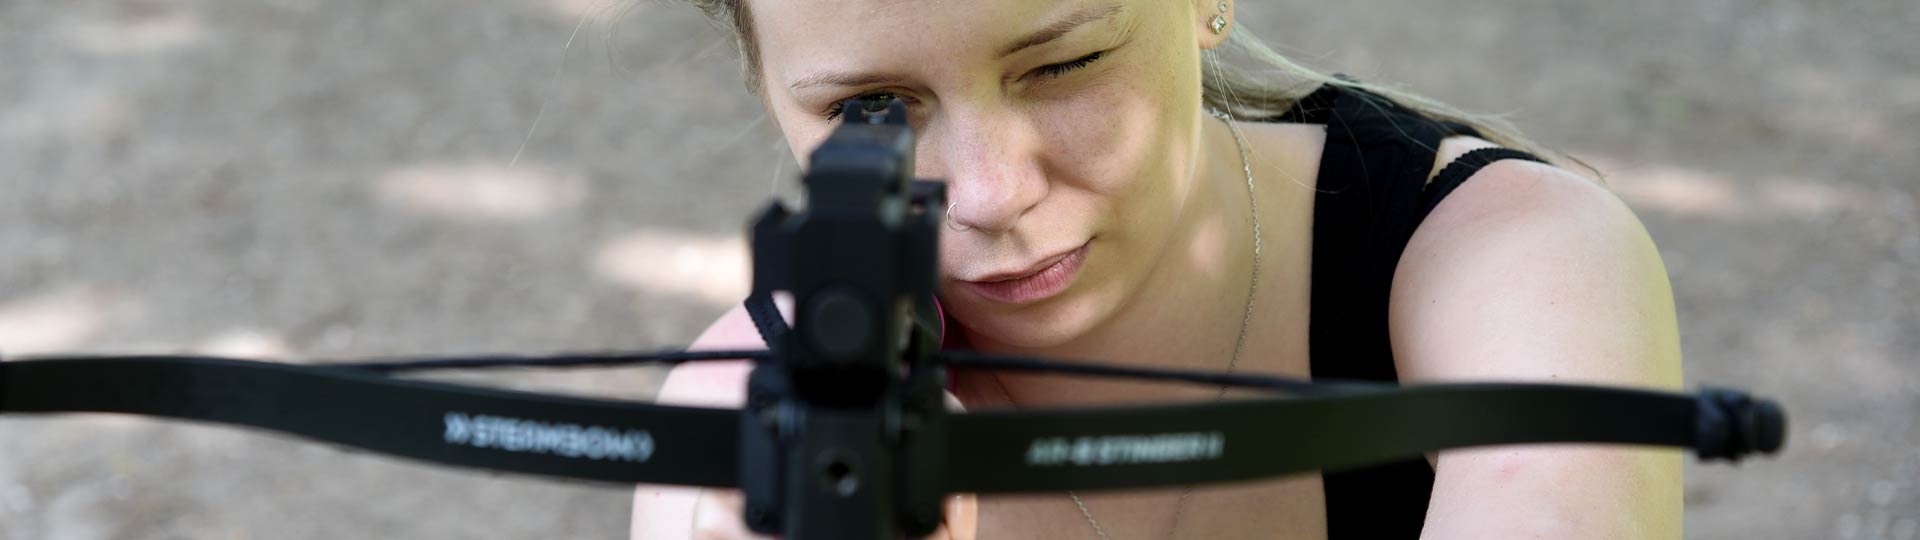
Adjusting or setting your zero is done through your sighting device. If your sighting system involves one aiming aid, like a dot or reticle, you will need to adjust two variables in your sight. In the case of Steambow, this applies to the crossbow scope, the red dot sight, and the two laser variants. For an overview of our aiming portfolio and an introduction to the benefit of each, watch this recent video.
In these cases, you will find two adjusters on the device. For the scope and red dot sight, these are one for the vertical plane or “elevation” and the other for the horizontal plane or “windage.” You will doubtless find it easier to first get closer to the target, pick a central spot to aim, and shoot. Do this 3-5 times to see if you are hitting the same place in relation to where you are aiming. They do not need to be the same point at this stage.
Once you have a decent idea of where the point of impact is in relation to your chosen point of aim, you should start adjusting the windage adjustment to pull the point of impact into the vertical plane of the point of aim. So when you shoot your next 3-5 shots, they should all be hitting somewhere above or below the point of aim, but not to the right or left. Now that is done, you should not need to touch the windage again, other than to make minor adjustments when out at further distances.
If your group of hits is already close to the edge of your target, use the elevation adjustment to bring them closer to your point of aim. Now, put some distance between you and your target, for example, five meters. Now do your same 3-5 shot routine, being careful to still use the same point on the target as your point of aim.
Once you see where they are hitting, adjust the elevation to put them on the point of aim. Shoot to confirm and adjust the windage if it is clearly off at this distance. Once the shots hit your point of aim, you are zeroed at five meters.
Now move it back again (assuming you want to zero further away), and repeat the adjustment process above. Do this until you are hitting the point of impact at your chosen distance.
With the lasers, the system is essentially the same, except that the adjusters are not strictly vertical and horizontal, and this may take a bit of playing around at first, but you will soon develop a feel for how the adjustment works, and there are two videos showing how to do it if needed: the red laser and the green laser.
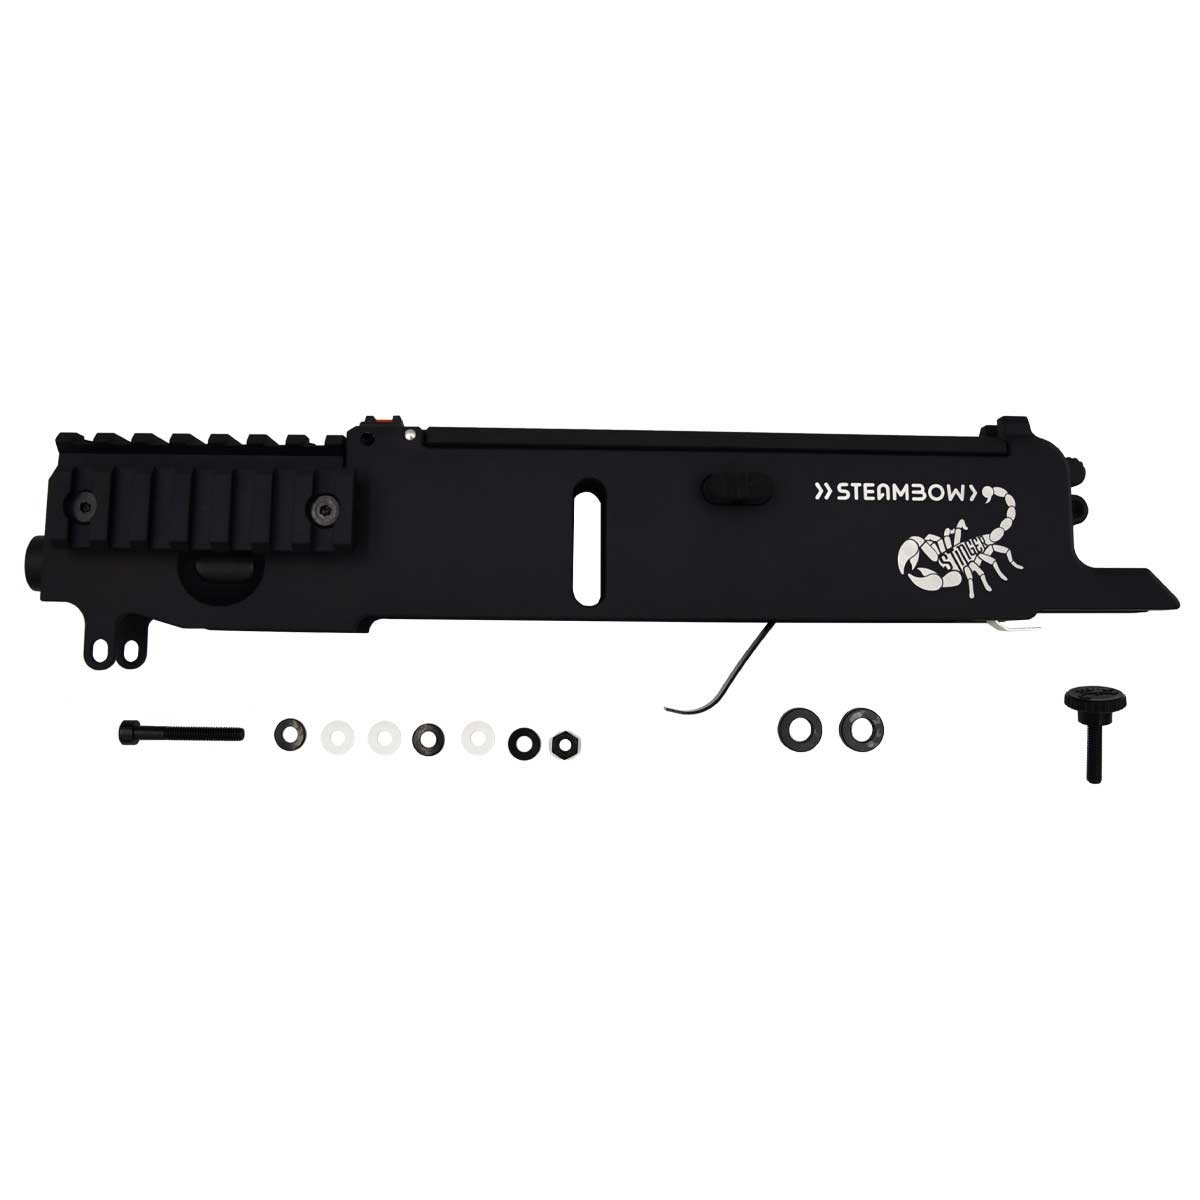
What about iron sights, like those on the magazine?
If you have a standard magazine-fed crossbow like the Compact or Tactical, the sights that come on the magazine are without adjustment. At typical AR-6 Stinger II distances, these will give you good, instinctive accuracy as you bring the sights on the target. However, if you own the metal magazine or the Special Edition, your iron sights are adjustable for windage (side to side).
The front fiber optic sight can be adjusted side to side for greater accuracy. Elevation cannot be adjusted, but it can be managed by how you angle the crossbow up or down, depending on the distance, using a technique called hold-over and hold-under.
Once more, at typical Stinger II distances, you are unlikely to need this to hit what you are aiming at.
A note about the scope reticle
Owners of the our crossbow scope will notice that the reticle has one vertical line and one horizontal line crossing it, plus a number of markings as additional aiming references. You generally use the intersection of the lines, the center of the reticle, as your zeroing point. Once that is zeroed to your needs, experience, and experimentation will show that the markings will give you other aiming options at different distances (as well as to compensate for wind). This design means you can compensate for the dropping trajectory of the arrow the further away you shoot. Once you know which distance corresponds to your different reticle points, note them down and refer to them, and your accuracy over varying distances will improve.
So there you go: you can now adjust your new sighting options to suit your shooting distances and style. To see the full range, go to our shop. For more information, feel free to check out our info page on aiming devices.
Click here for part 4: Crossbow Academy Pt 4: how to choose and use a crossbow scope
Did you miss the beginning of the Crossbow Academy? Here you can find part 1: Crossbow Academy Part 1: The parts of the crossbow and their function