In this video on the Steambow YouTube channel, Steambow’s CEO, Gerald, talks you through the simple process of setting up a FENRIS on a left-handed bow and this blog summarizes the video’s key points.
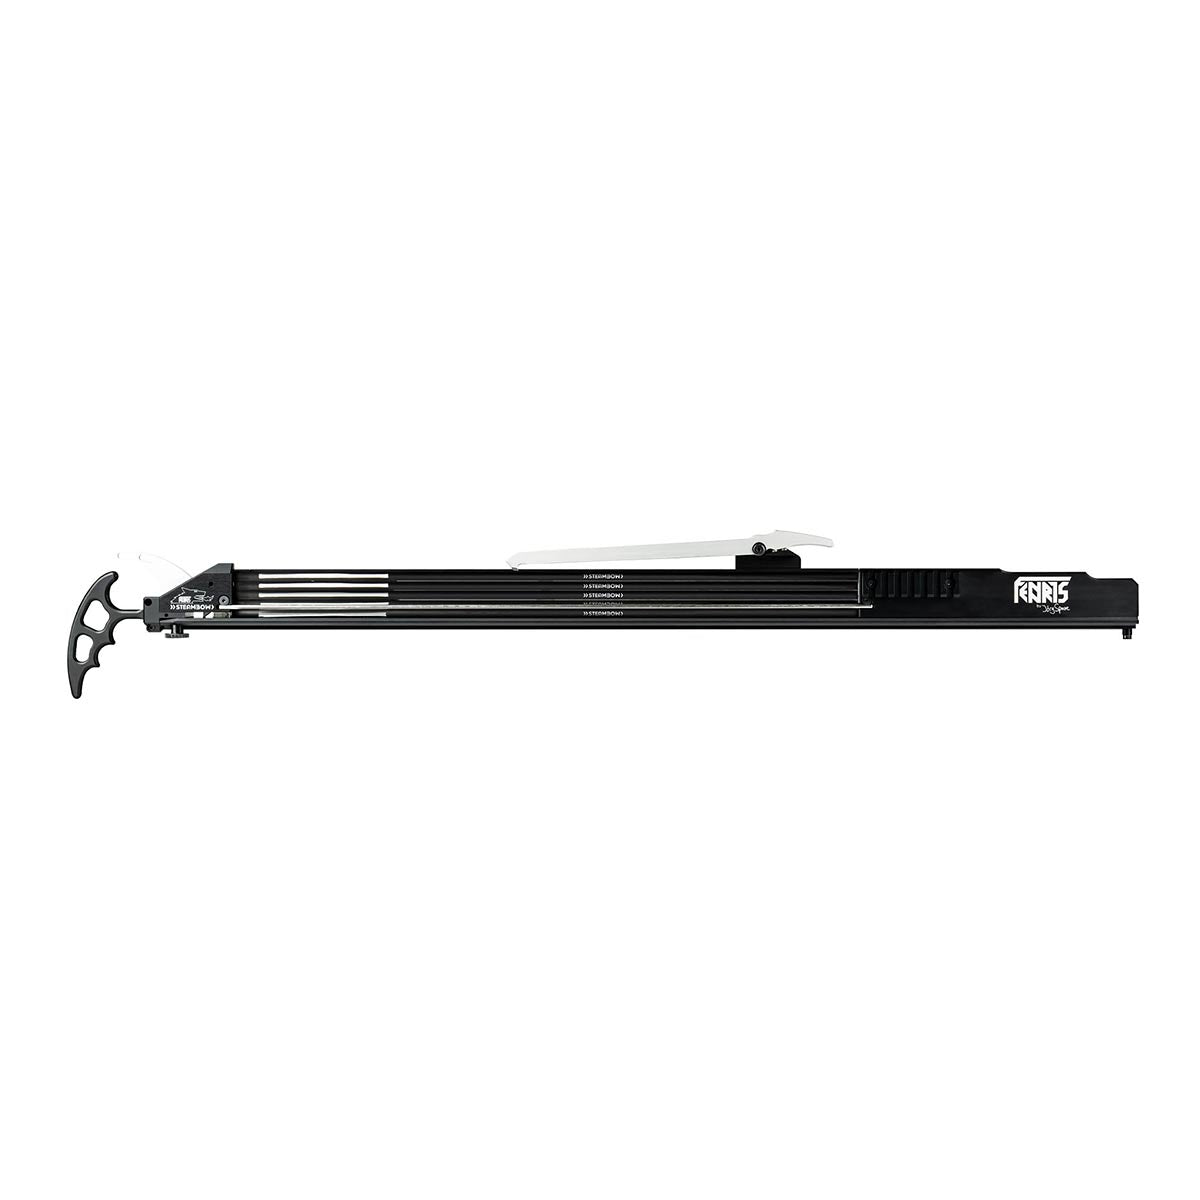
Since Steambow started rewriting the archery rulebook of what’s possible and what isn’t, copies of their designs have been coming out relatively steadily. That’s very true of the AR-6 Stinger II Tactical and now also for the FENRIS 5-shot vertical bow magazine.
However, one notable difference (aside from the FENRIS’ fabulous finish and production standards) is that Steambow did not hesitate to invest in the added design and production costs of making their FENRIS bow magazine accessible to left-handed archers too. By contrast, this doesn’t seem to be the case with other copies on the market.
The FENRIS setup process is dead easy. Whichever bow hand you shoot with, the initial set-up process is the same. And once that is done, you get the same quick mount/dismount process as for right-handers. Mounting picatinny rails at the front or rear is possible in either orientation (although the parts you need at the rear are different: details in the video).
The only FENRIS feature that is not readily applicable to the left-handed setup is Steambow’s optional finger-grip. To use this on a left-handed bow requires drilling and tapping holes to mount the finger grip to the FENRIS body to suit your draw length. This is also covered in the video.
If this is something you want to do (or, indeed, if you have any question about our products), please get in touch with our customer support team.