If you’re one of those who could not put their Stinger II down this winter, shooting indoors instead, this blog may serve as a checklist of what you’ve done right. Otherwise, this introduction to pre-season checks of your AR-6 Stinger II crossbow may be a handy resource to make sure that your crossbow is in top condition for those coming Sunday afternoons hitting your target out in the sunshine.
If you are now pulling your Stinger II crossbow out of hibernation, it is time to check everything is still in the condition you left it. Ideally, you stored it in a cool, dry place, out of harm’s way. While we, Steambow, don’t insist on it, some people like to de-string their crossbows before putting them in storage, meaning the limbs are under no tension.

Checking the crossbow
If this is the case, this is an excellent time to get your string wax out, and run it along the string so that it gets in between the fibers, and especially along the center serving so that it gets in between the fibers. This is harder to do if the string is already under tension.
When the string is (re)fitted, the limb should be checked: take a ball of cotton wool and gently pass it over all the surfaces of the limb. If there is any damage or failure in the fiberglass or carbon fiber elements, the splinters will catch the cotton wool and give you a warning. In this case, you can repair light damages with a two-component glue or epoxy resin and then smooth it with fine sandpaper. In case of more severe damage, the limb should be replaced for safety reasons. If in doubt, contact Steambow’s customer support. It is also important to check that the limb tips have no cracks or stress fractures visible. If they do, replace them with new ones. It’s worth noting that this step (and the cost of replacements) will be unnecessary if you invest in the aluminum limb tips instead.
If you have the quick detach limb block and frame, then fitting the limb will be an easy job, only requiring you to lift the magazine to seat it. Whether you have it or not, pop the magazine up a fraction and apply some lube to the rail of the crossbow to reduce the friction of the string passing over it and therefore increasing the service life of the string too. Next, go over the crossbow and check that all screws and bolts are correctly fastened.

Only as safe as your arrows
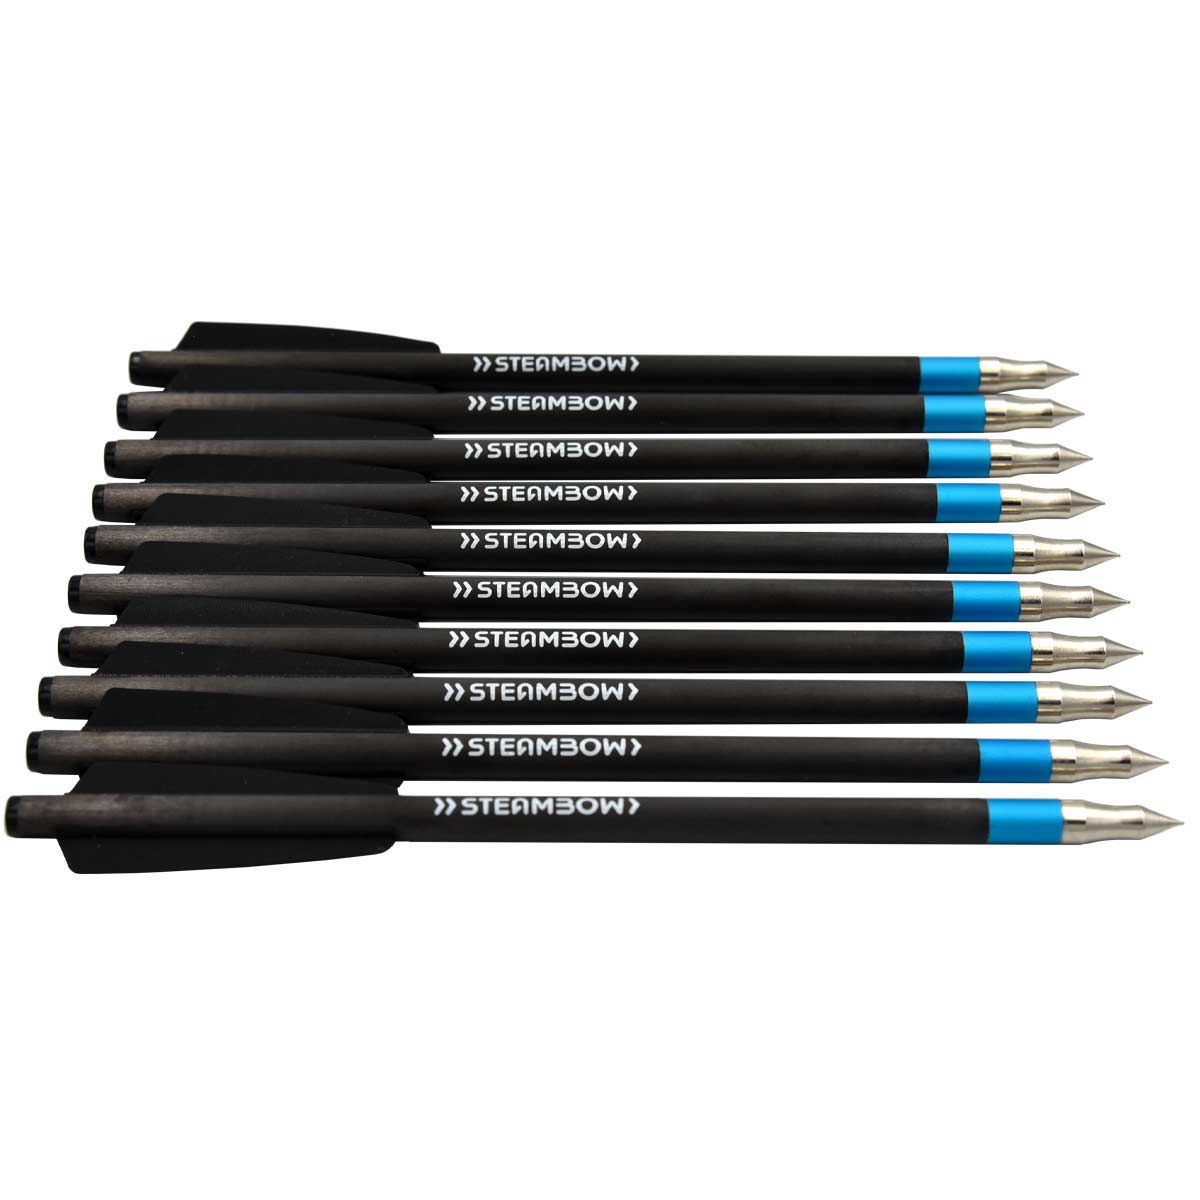
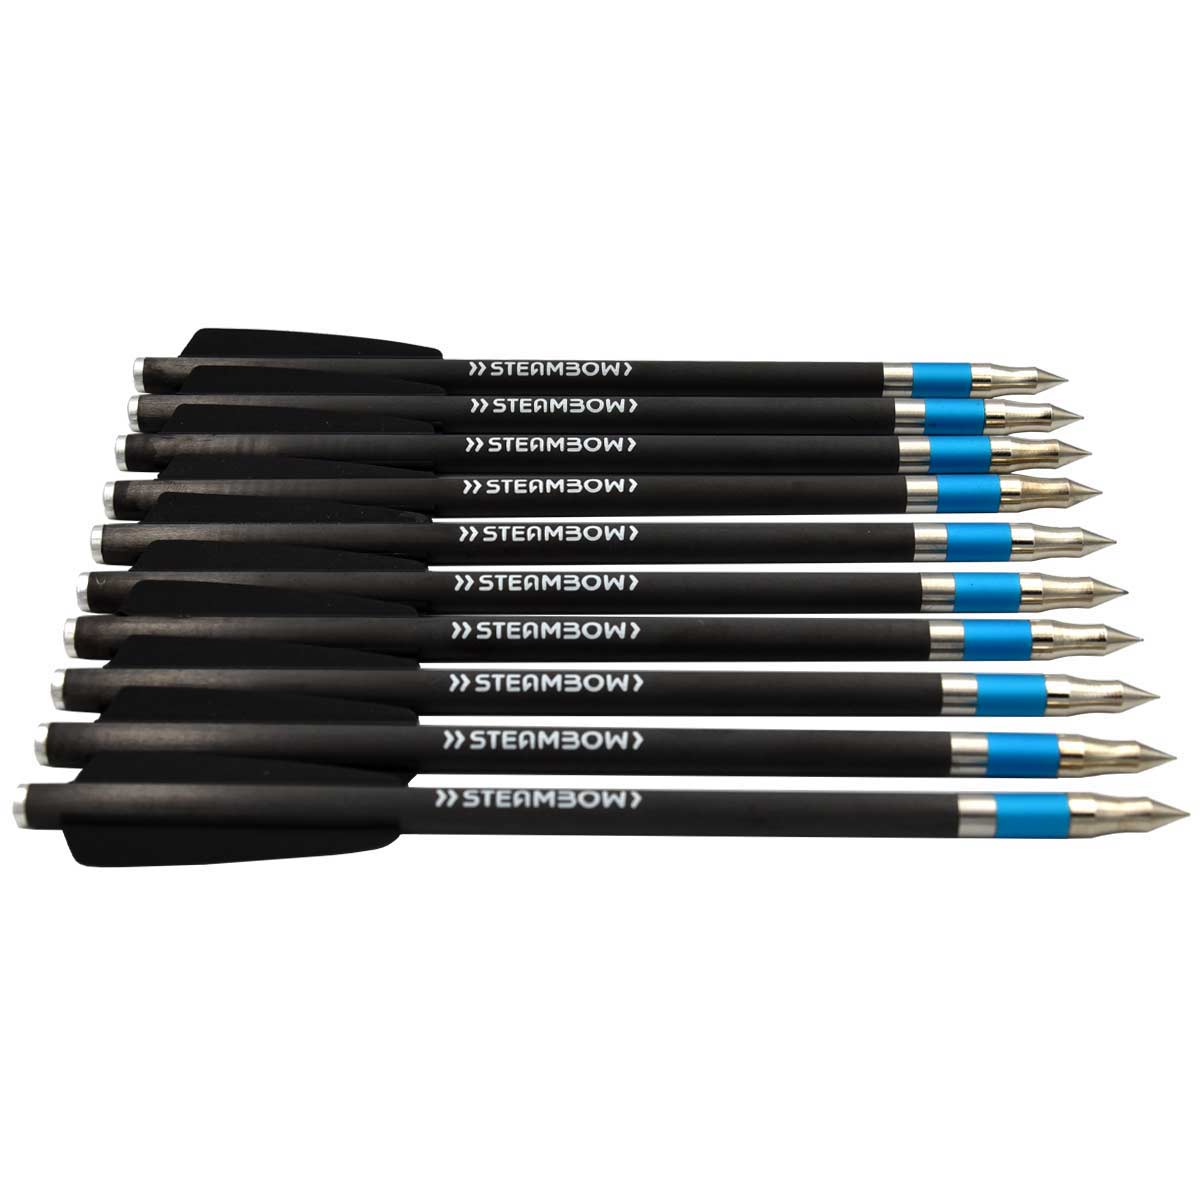
Once you have done this and made certain your crossbow is in correct working order, you can move on to the arrows. For aluminum crossbow arrows, find a flat surface like the edge of a table, worktop or shelf. Put the arrow on the edge so that the vanes are hanging off the edge. Now roll the arrow shaft with your hand back and forth. While doing that, watch the nock of the arrow. If it spins in the axis of the arrow, the arrow is good. If it spins in an elliptic fashion, the arrow is no longer straight and should be discarded.
For carbon arrows you can use the same cotton ball trick as with the limb to see if any fibers are breaking free of the wall. Regardless of the arrow type, inspect the tips for damage and tightness, inspect the vanes to see if they are damaged or pulling away from the shaft. Finally, inspect the nocks for any signs of damage too.
Once done, especially if you use aiming aids like a red dot, laser or scope, take some practice shots at the target to check your zero is still correct and make adjustments as needed.
Now you are ready to go.
Good general practice
Although this post is supposed to be a pre-season checklist, these safety checks should be done regularly. Checking the arrows should be done before every shooting session. The string and rail should be

inspected every time too to make sure neither needs additional lube or wax. Checking the limb and caps for damage should be done regularly too: just a quick check to be on the safe side. But doing this at the beginning of the season puts you in a good position for lots of fun times over the coming months.
If you have any additional questions have a look at our FAQ page, and if you decide you want to get any of the parts mentioned in this blog, just go to the webshop to see what’s available.


